Cost/benefit. An investment that pays off?
I. The practical benefit of dental photography
High-quality dental photography is becoming more and more widespread among dentists and dental technicians alike.
For your own images that are genuinely usable in everyday practice, a comprehensive knowledge of photography — the body of knowledge acquired in formal education or on expensive courses — is not strictly necessary. The best way to learn is to apply it.
Over time we can find our own settings for different types of images, so it is also not true that taking a given photo would take a lot of time.
We can make use of our images in 4 main areas:
laboratory communication
patient education, diagnosis and planning
marketing
documentation, self-development
1. Communication with the laboratory:
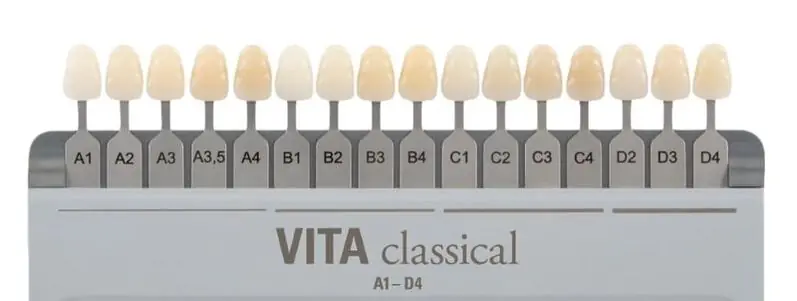
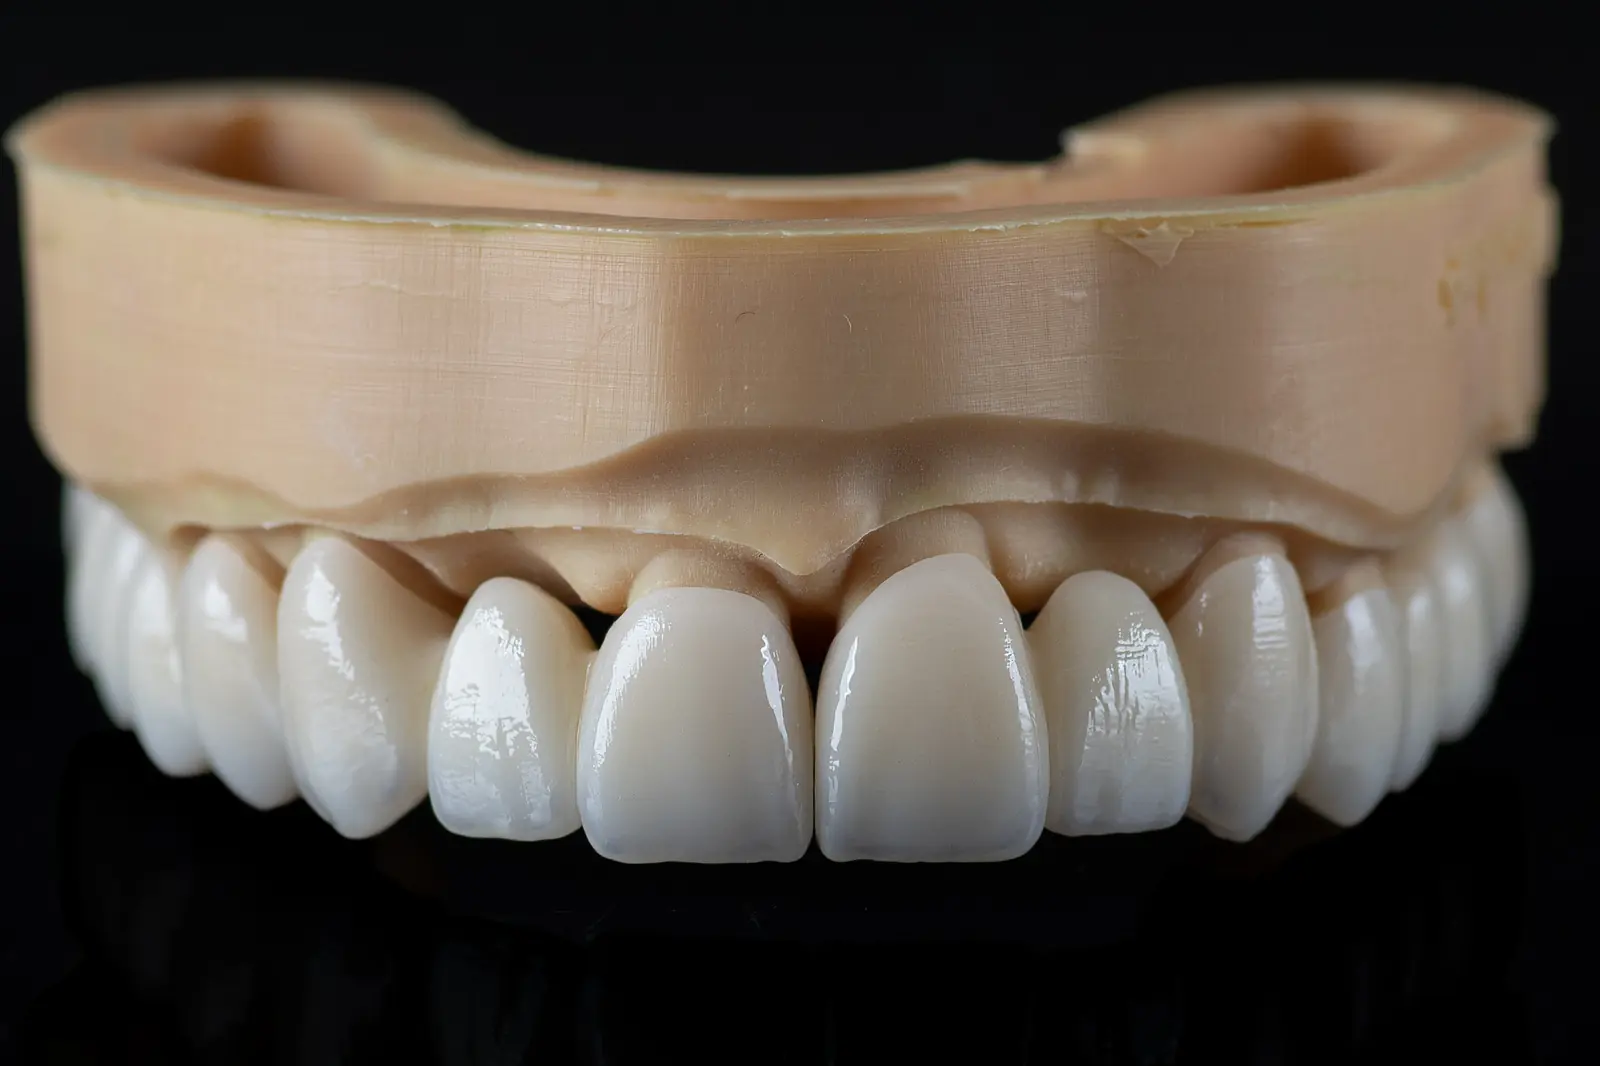
Inaccurate shade selection is one of the most frequent reasons for remaking restorations, so developing in this direction is one of the most obvious ways to save a great deal of chair and laboratory time and cost. Professional photography together with shade guides greatly increases the accuracy of shade determination.
2. Patient education:
In the present age, transparency is essential for building committed, lasting patient relationships. We can use dental photographs to produce and support the diagnosis and the treatment plan.
3. Marketing:
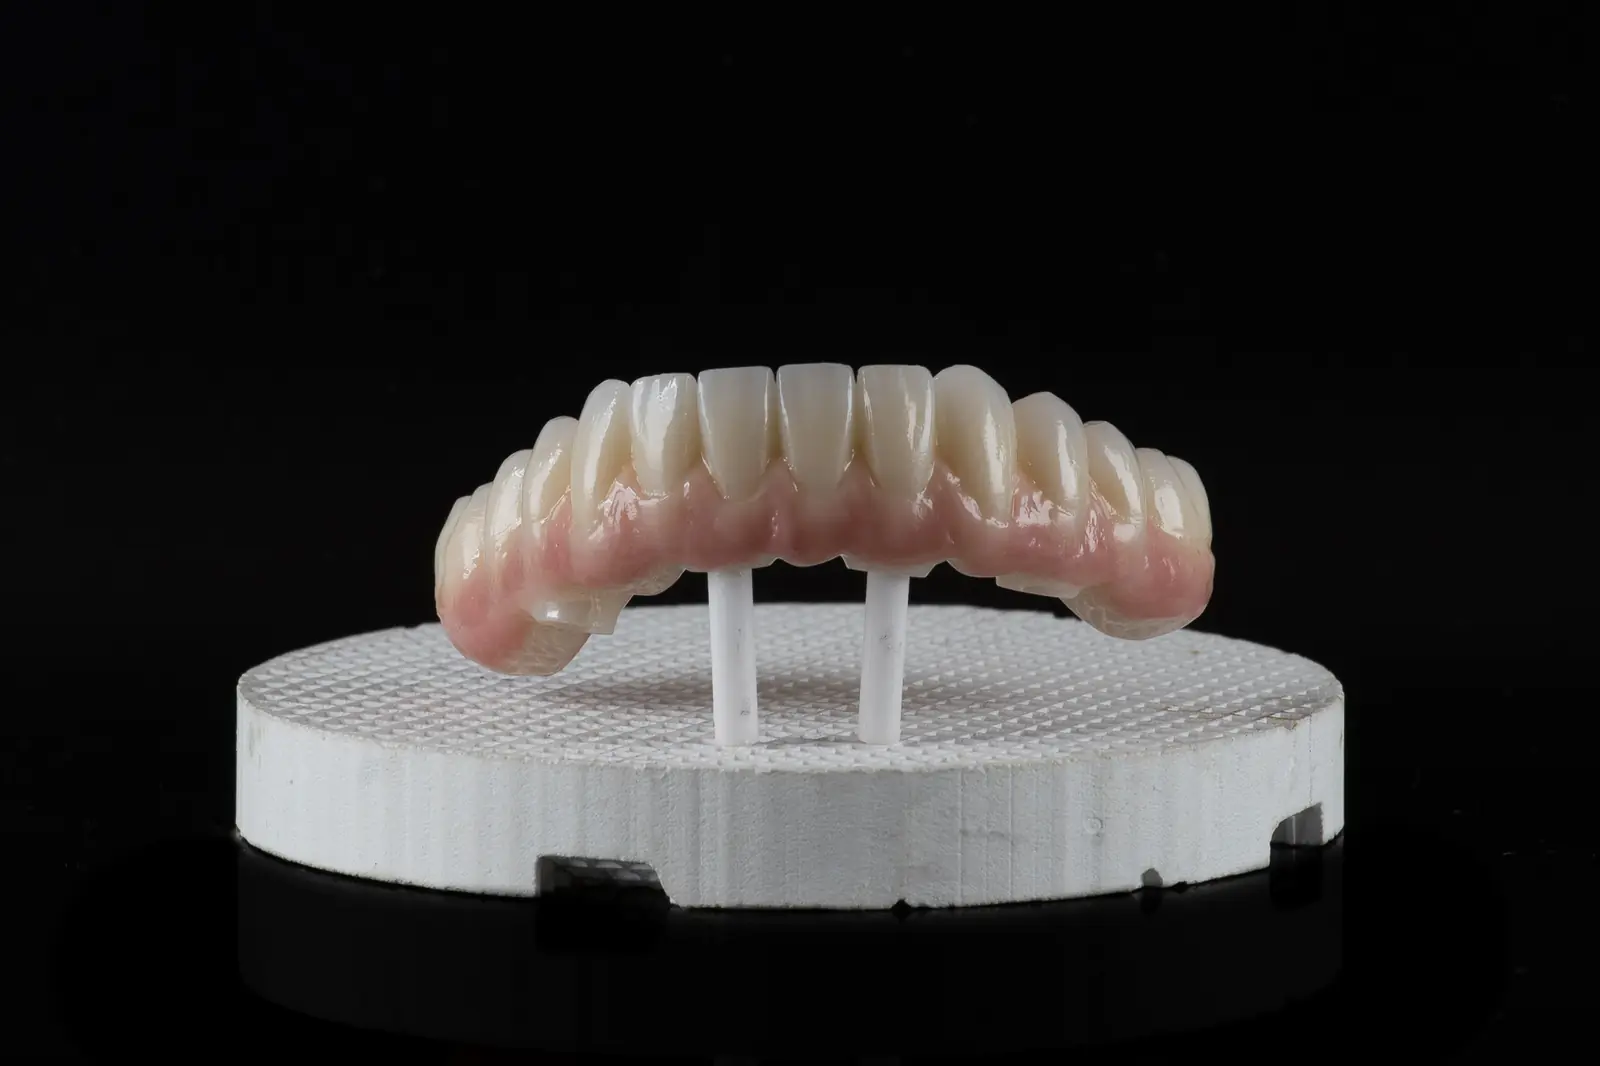
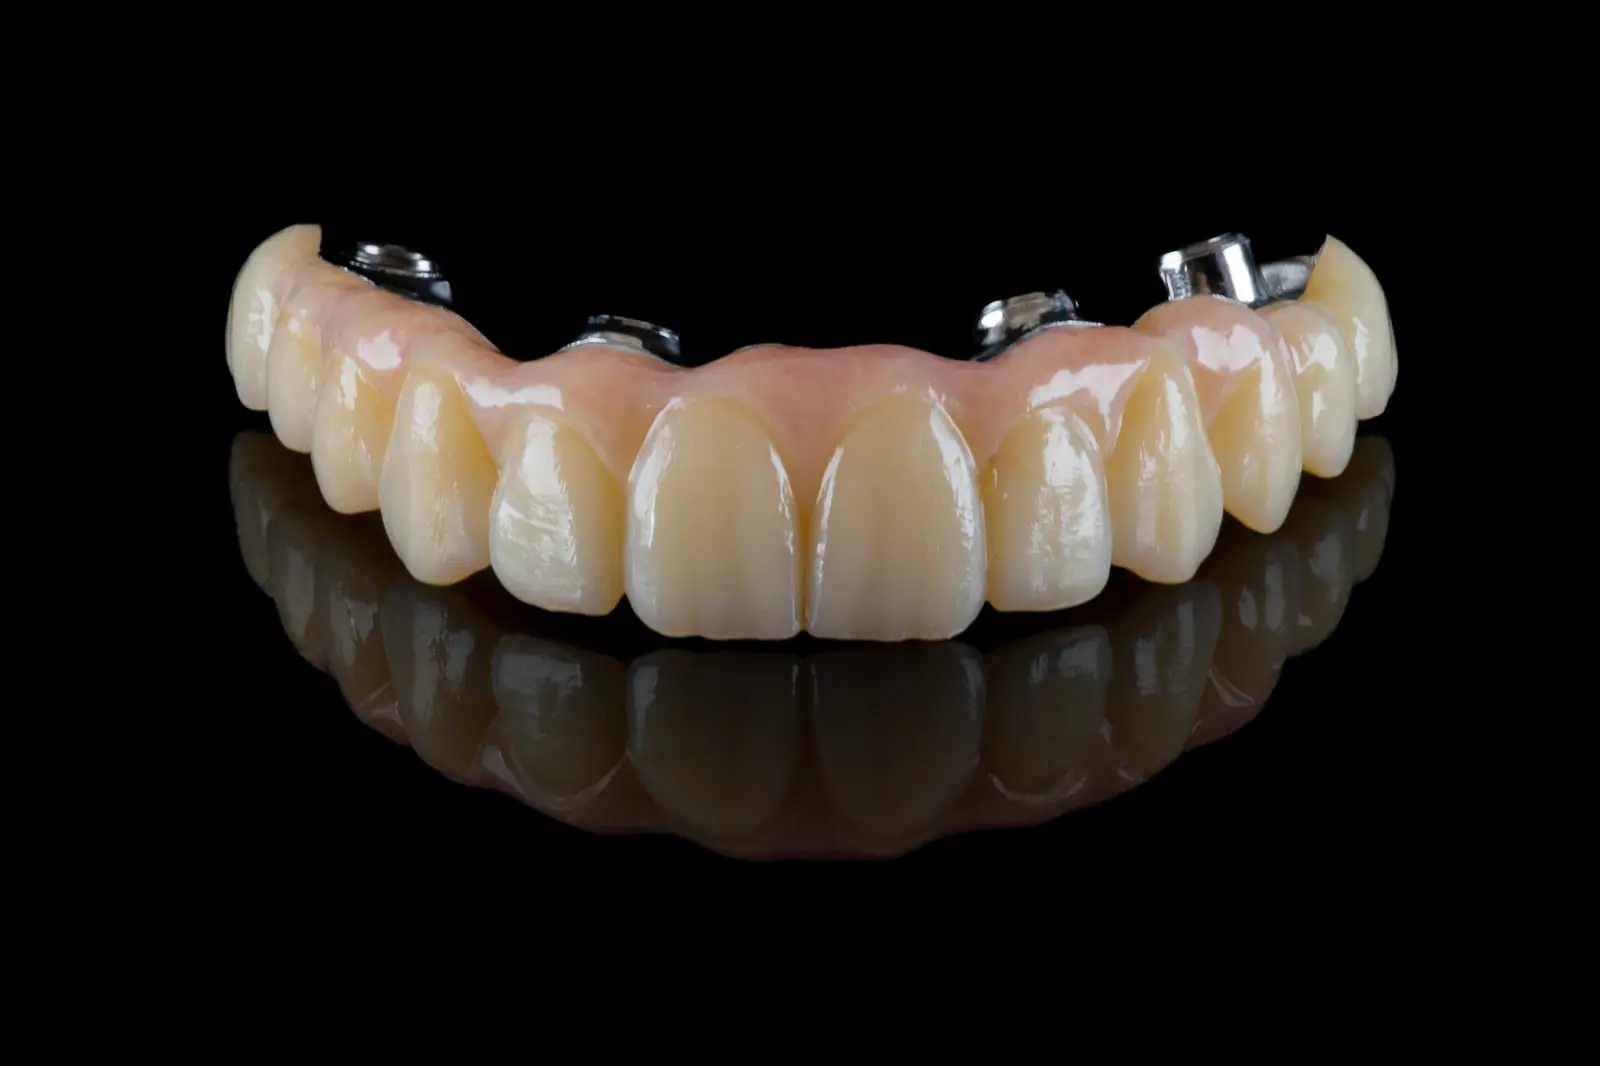
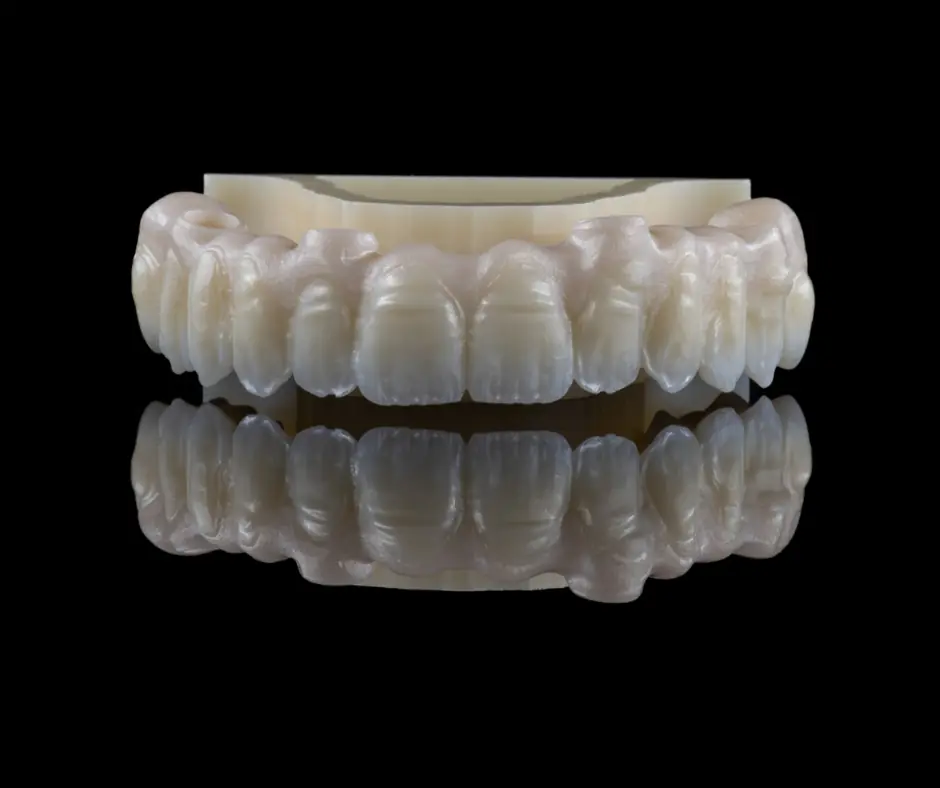
Before/after images, product photos and even videos that we produce ourselves make us far more credible than if we used stock photos on our platforms. If we learn to take good-quality images, we can increase our clients' trust and commitment. In a word, we can achieve far more effective promotion.
4. Self-development:
When a restoration is finished, analysing the image taken of it makes errors and shortcomings easier to discover. With the help of images taken of the treatment and of the delivered restorations we can check their success traced back over a long period. In this way we may be able to review and improve our working methods.
II. The equipment:
camera
lens
flash
retractors, contrastors and mirrors
light modifiers, backgrounds
1. Camera
SLR, mirrorless, or just a phone?
The first and perhaps hardest decision is what type of camera to start photography with.
With today's phones we can take beautiful images in everyday life; in my opinion, however, they are not suitable for professional use.
The most modern mirrorless systems compete with SLR cameras in quality; however, their price is currently much higher and the number of accessories is limited.
This is why conventional SLR systems are the most widespread in dental photography. They are characterised by excellent image quality and speed. Once a few simple settings have been worked out, we can develop protocols for our different types of images, so that anyone in the practice or the laboratory can produce them at the same quality. In general it can be said that it is not necessary to invest in top-tier bodies in order to be able to take adequate images. We can choose from both full frame and reduced-size (crop) sensor offerings. Crop sensor bodies are cheaper and we can achieve greater depth of field with them, so in my opinion they are more ideal for this purpose.
2. Lenses
We can use a macro lens for portrait, close-up and extra close-up images alike. Traditionally, a true macro lens is capable of 1:1 reproduction, that is, of transmitting the given object to the camera sensor at its real size. It is worth watching out for this, because we can also come across lenses with poorer reproduction advertised as "macro capable". For our purposes the ideal choice is a fixed macro lens with a focal length somewhere between 85 mm and 105 mm. These types allow an appropriate working distance.
3. Flash
The two most frequently used types are the ring flash and the twin flash.
ring flash: a light source around the lens that delivers a large amount of light in one direction. This is ideal for intraoral photography, for example surgical documentation. At the same time it also causes strong reflection from the teeth, which is an undesirable phenomenon. Not ideal for shade photography.
twin flash: by directing two separate light sources we can promote a more even distribution of light. This type is therefore ideal for every necessary shot. At the same time its use requires greater knowledge and experience.
4. retractors, contrastors, mirrors
With the help of retractors we can hold the lips away from the teeth, and by using them we can get more light into the oral cavity. They are available in transparent or black plastic and in metal versions.
With black contrastors we can photograph the teeth against a clean background
With intraoral mirrors we can take shots of areas that are hard to access, for example from occlusal and buccal views. This can also be useful for treatment plans, orthodontics and case presentations.
5. light modifiers, backgrounds
We can also improve the quality and richness of detail of portrait, close-up and object photography by using appropriate light modifiers. By softening and diffusing the hard light of the flashes we can control it better. A light modifier can be a softbox, an acrylic sheet, or even a sheet of white paper.
Plain backgrounds are most useful in portrait photography.
Naturally, building photography into our everyday work requires investment and learning. With consistent practice, however, we can easily develop workflows with which we can produce our images quickly, efficiently and at good quality, and through this raise the quality of our work to a higher level.